1
How to Apply
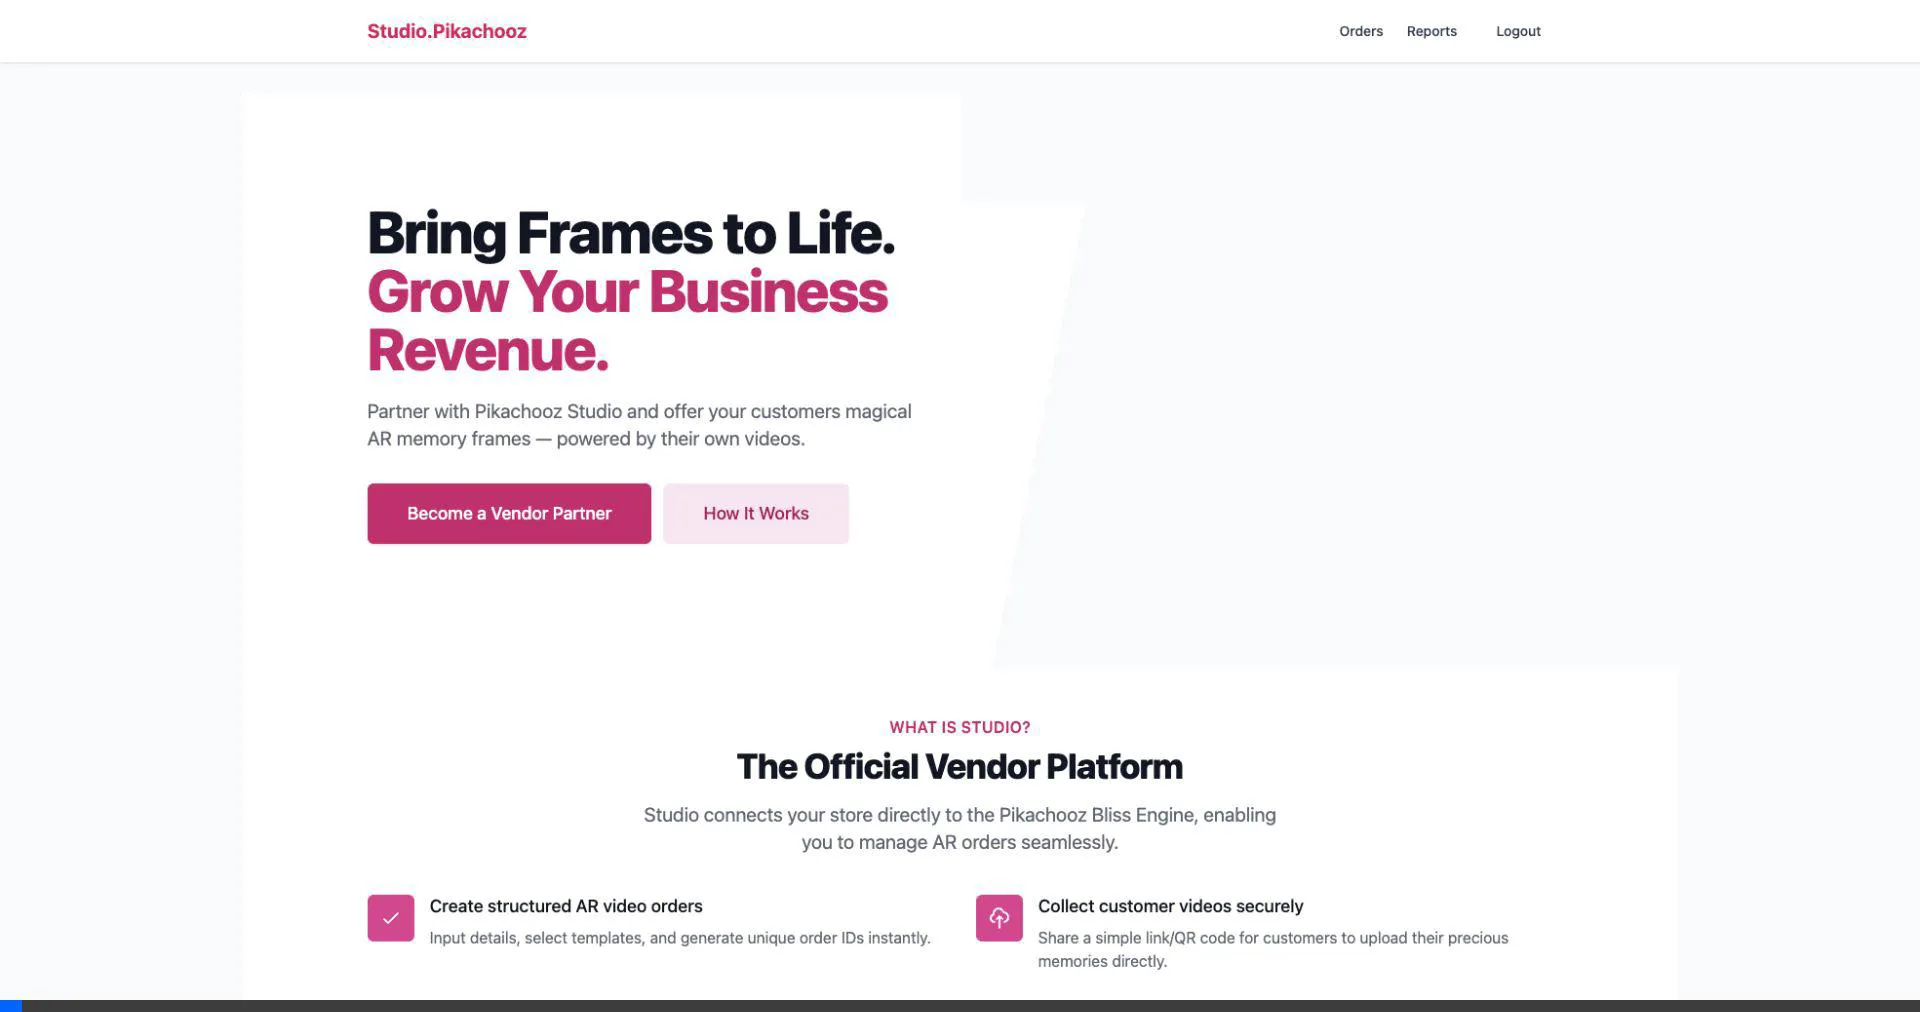
To start offering AR frames, you first need to register your store on our platform.
- Visit the Pikachooz Studio home page.
- Scroll down to the "Become a Vendor Partner" section.
- Fill in your Store Details (Name, Owner, Contact Info).
- Select your Store Type and agree to the terms.
- Click "Apply to Become Vendor".
Note: Your application will be reviewed by our admin team before approval.
2
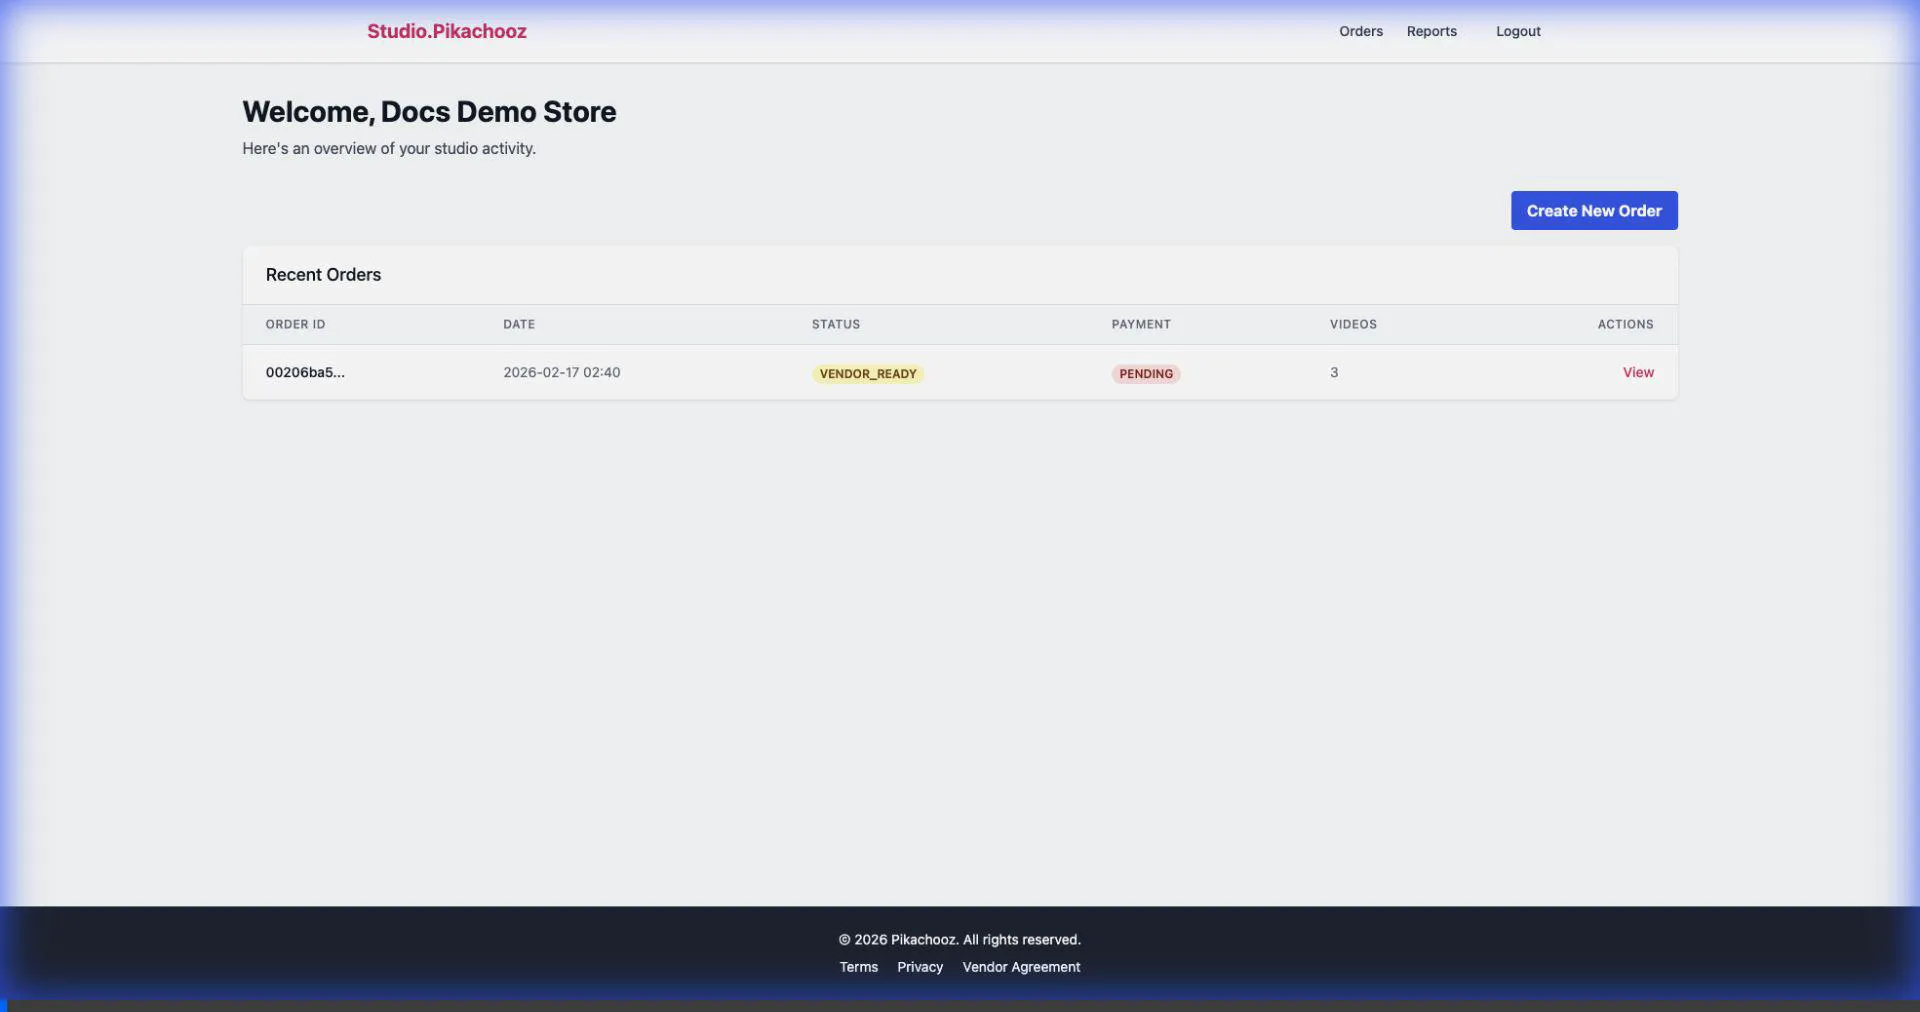
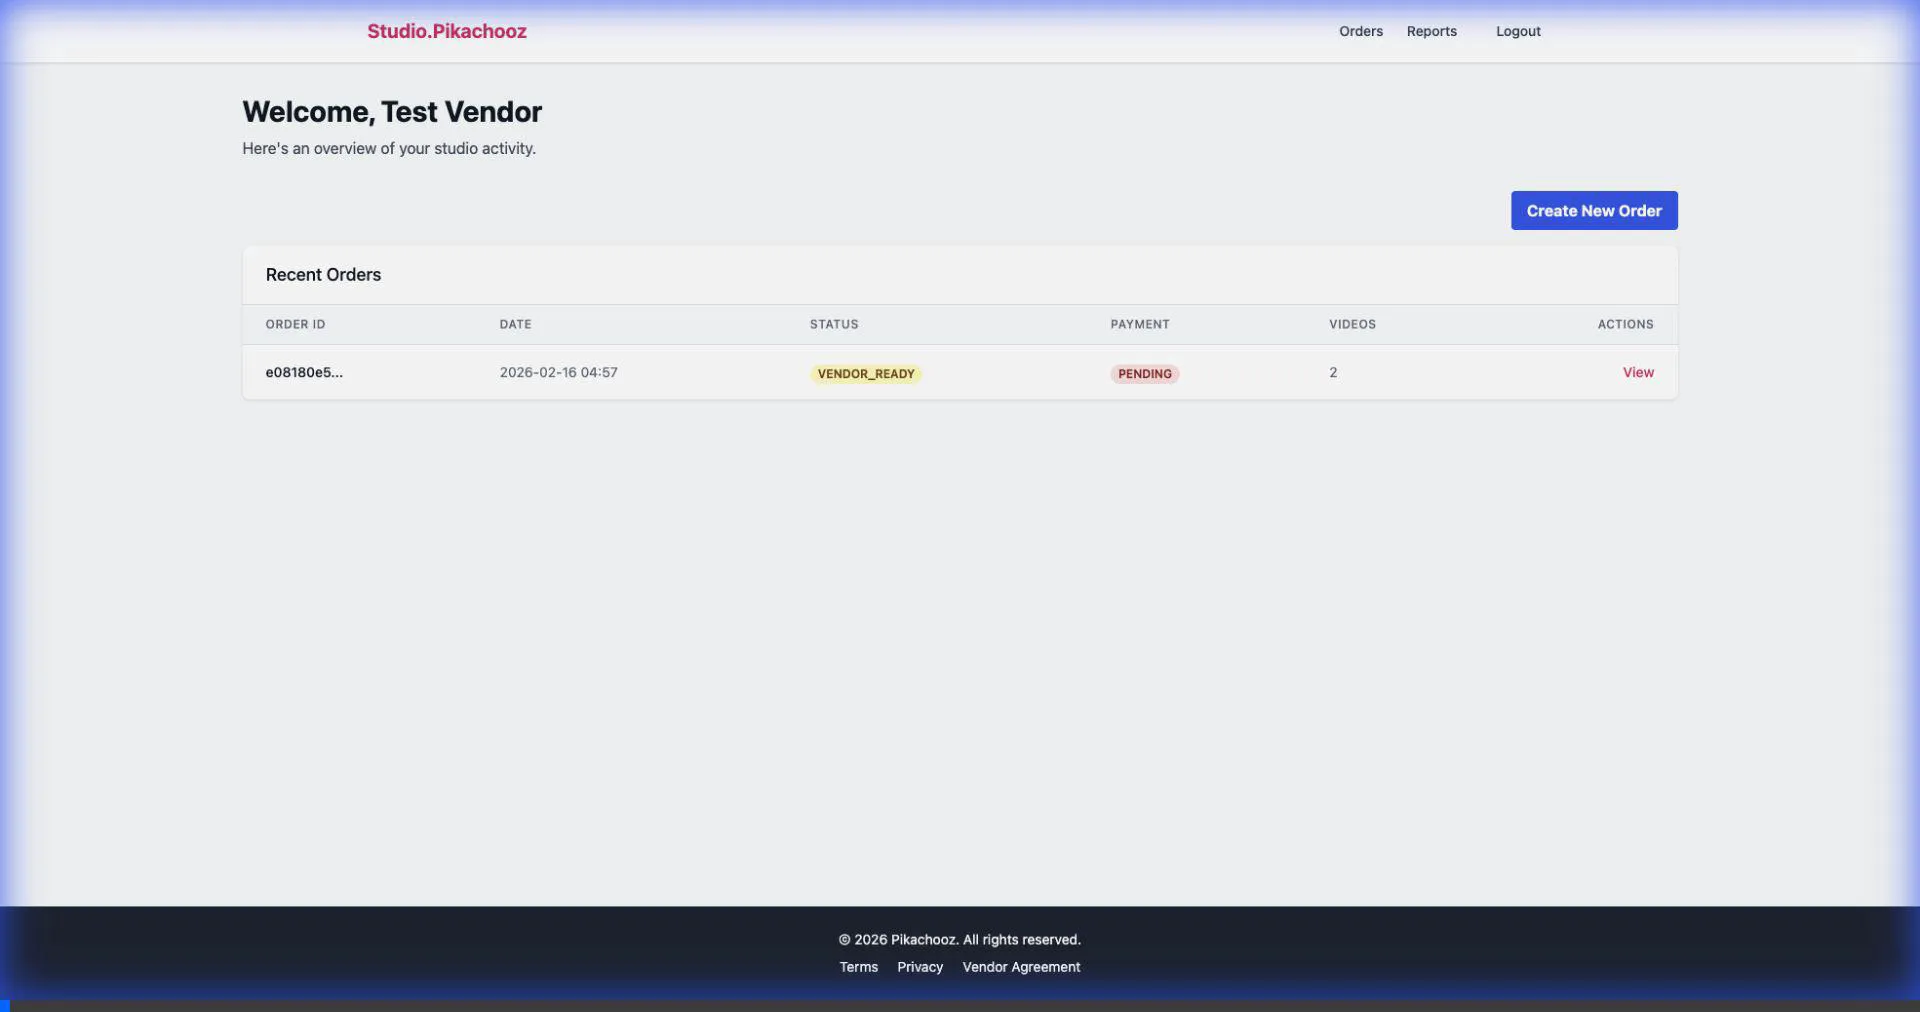
Creating Your First Order
Once logged in, you can start creating orders for your customers.
- Log in to your Vendor Dashboard.
- Click the "Create New Order" button.
- Select the Number of Videos the customer wants (e.g., 1, 3, or 5).
- Click "Create Order".
3
Customer Upload Process
Share a secure link with your customer so they can upload their files directly.
- On the Order Details page, find the "1. Customer Share Link" section.
- Click "Copy" or use the QR code.
- Share this link with your customer.
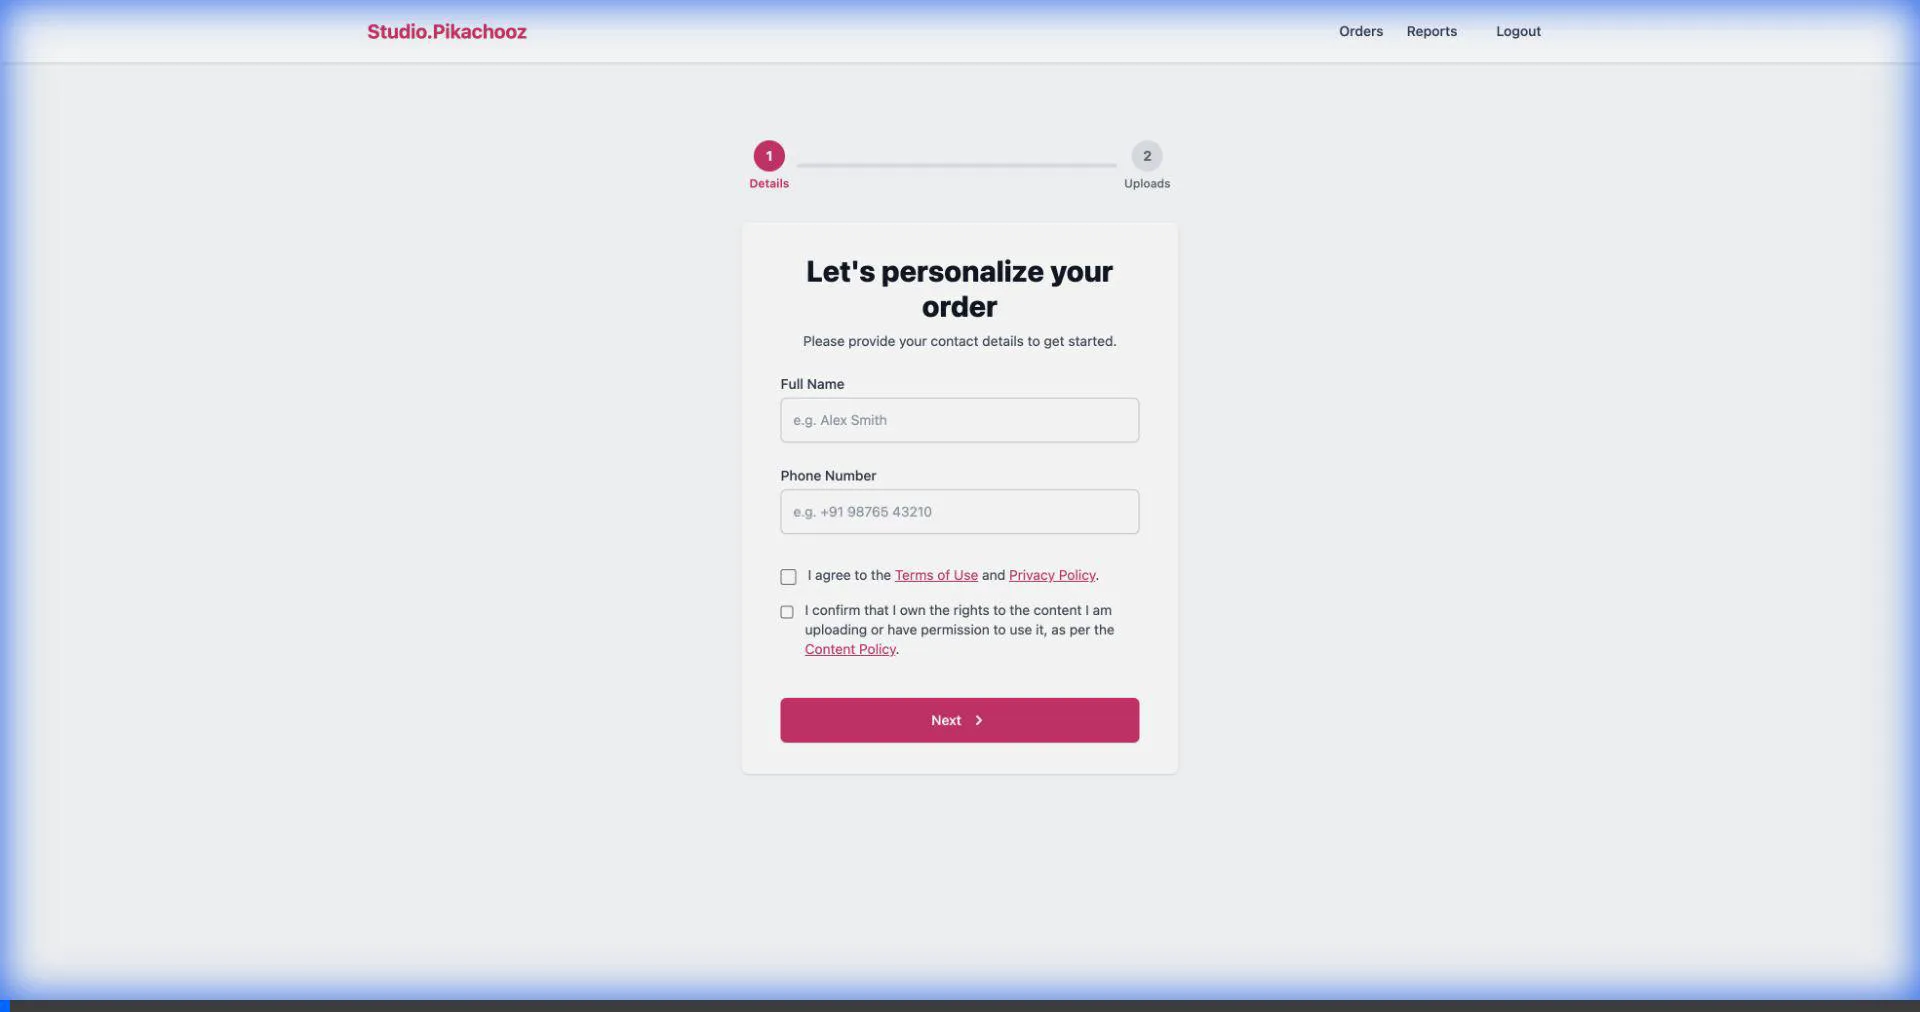
The customer will:
- Open the link and enter their Name/Phone.
- Upload their Videos/Images.
- Click "Submit Order".
4
Review & Submit
After the customer uploads, verify everything before sending it to us.
- Go to the Order Details page.
- Check the "Assets" section for green "✓ Uploaded" status.
- Scroll to the bottom and click "Mark as Ready for AR".

5
Final Delivery
Once we process the AR effect, the status will change to COMPLETED.
- Open the Order Details page.
- Look for the "2. Final AR QR Code" section.
- Click "Download QR Code".
- Print and stick this QR code on the photo frame.